With the excitement of Pandora the World of Avatar at Disney’s Animal Kingdom at Walt Disney World, I wanted to share with you step-by-step instructions how Fathers and Daughters can get into the Avatar Spirit. Now, I theme park a lot, so I wanted our Avatar face paint tutorial to give you and your kids a little Na’vi flair, but not necessarily cover your whole face because when vacationing in Disney World you want to cherish this memories with photos and you want to recognize your kid’s faces. So in this case, I believe less is more. Here are the supplies you’ll need: • A makeup palette with a Royal Blue and Black Base • White Acrylic Paint • Royal Blue Acrylic Paint • Brown and Yellow Acrylic Paint • Pointy brushes for some fine details and some larger one’s for the base. STEP 1: Start with the makeup palette and choose a nice royal blue base. Apply it around the face near the hairline from the top of the forehead down to the ear. 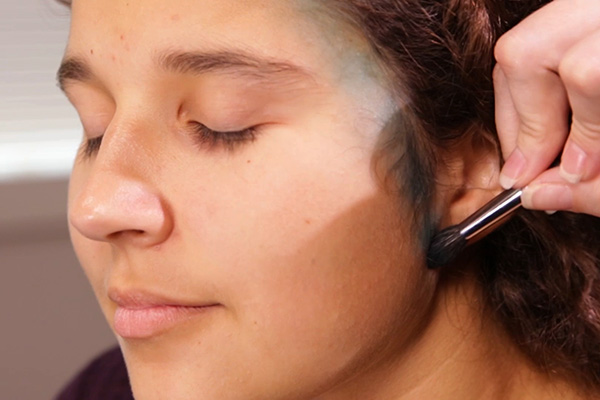
STEP 2: Next contour the nose with the blue base and up into the brow. Brush some of the Black base to the tip of the nose. 
STEP 3: Then grab your Royal Blue Acrylic Paint, and start creating curving waves or tentacle-like marks from the top of the forehead down to the side of the ear. 
STEP 4: Add definition to the nose by brushing some Blue Acrylic Paint to the nose and up into the blow, then blend it in gently with your finger. 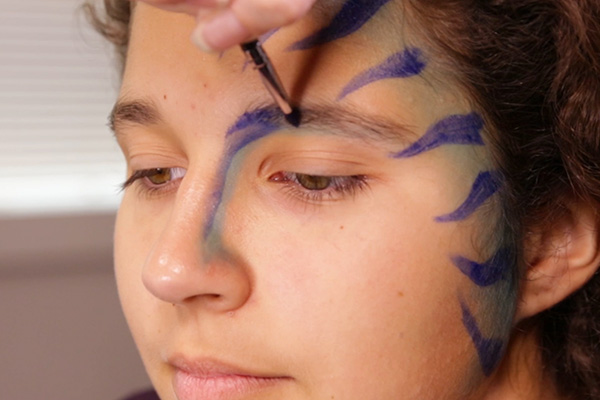
STEP 5: Grab the end of your brush, dip it into the White Acrylic Paint and dab on dots in between the wavy markings. You can also use the end of pen or pencil, dip in paint, and you’ll get these nice round circles. 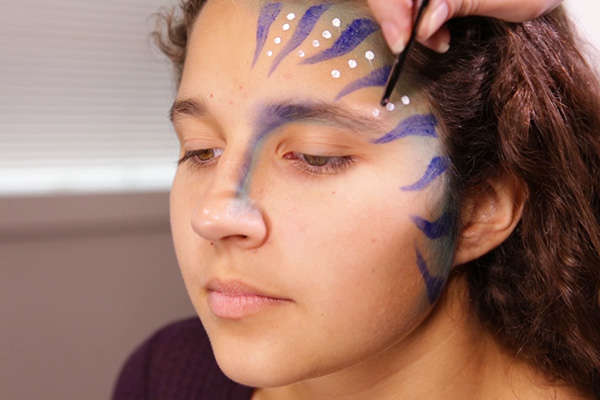
STEP 6: Continue add more tribal circles around the nose and eyes. 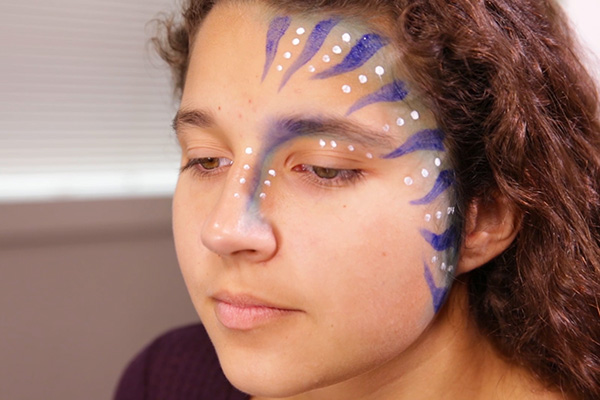
STEP 7: Use the Yellow Acrylic Paint to color in the eyelid. 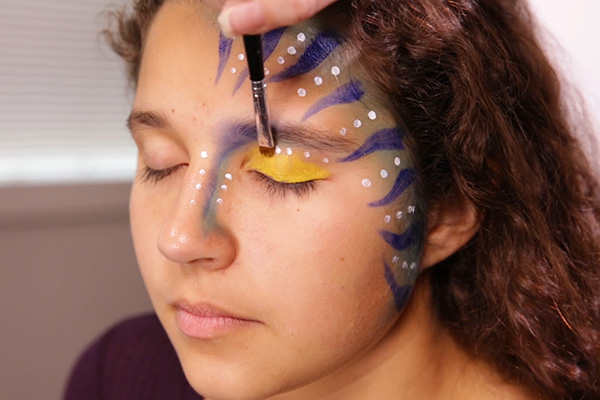
STEP 8: Finish up the eye with a little eyeliner. We’ll be using a fine brush with the Blue Acrylic Paint to create a crisp and clean eyeliner wing, straight across the lash line. 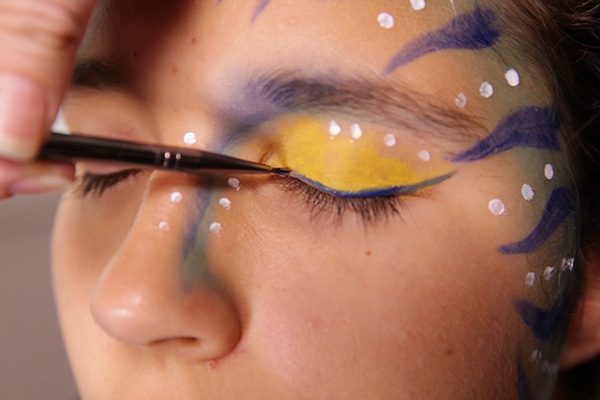
STEP 9: For dad, do STEPS 1-6. We did both sides of his face for dad. 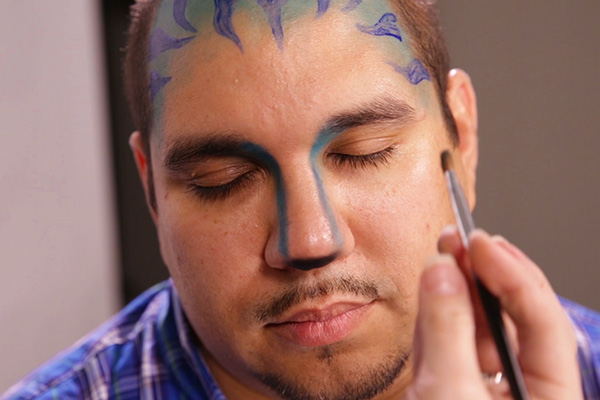
STEP 10: Create a headband using the Brown Acrylic paint by add a simple braid pattern across his forehead, and use Red Acrylic paint to add some red dots in between the braid. 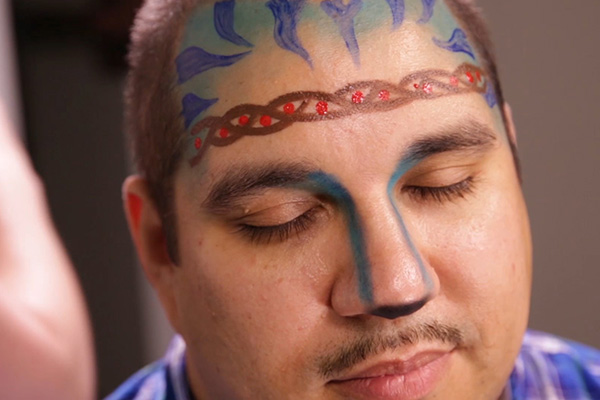
STEP 11: Darken his eyelids with a little black eyeshadow. 
Happy Father’s Day! 
Orlando, FL – 05/11/17 By: Alex Mateo | 


